got a line where i can find said compounds?
also what is the traditional grit compound?
also what is the traditional grit compound?
 ---Has ClubProtege helped you in someway? show your support by Contributing--- Click Here---
 ---Has ClubProtege helped you in someway? show your support by Contributing--- Click Here---
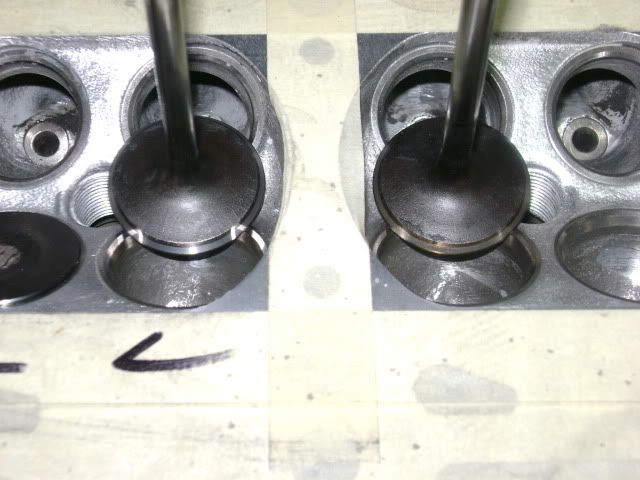
 pm if interested
 pm if interested---Has ClubProtege helped you in someway? show your support by Contributing--- Click Here---
Comment